Back Shop is supported by Craft—designing Nordic ski collections worthy of World Champions and Everyday Heroes. craftsports.us
If you’re a Nordic skier, you probably love hills. Maybe you don’t seek epic climbs on every training session, but sooner or later the sport will lay them before you whether you like it or not.
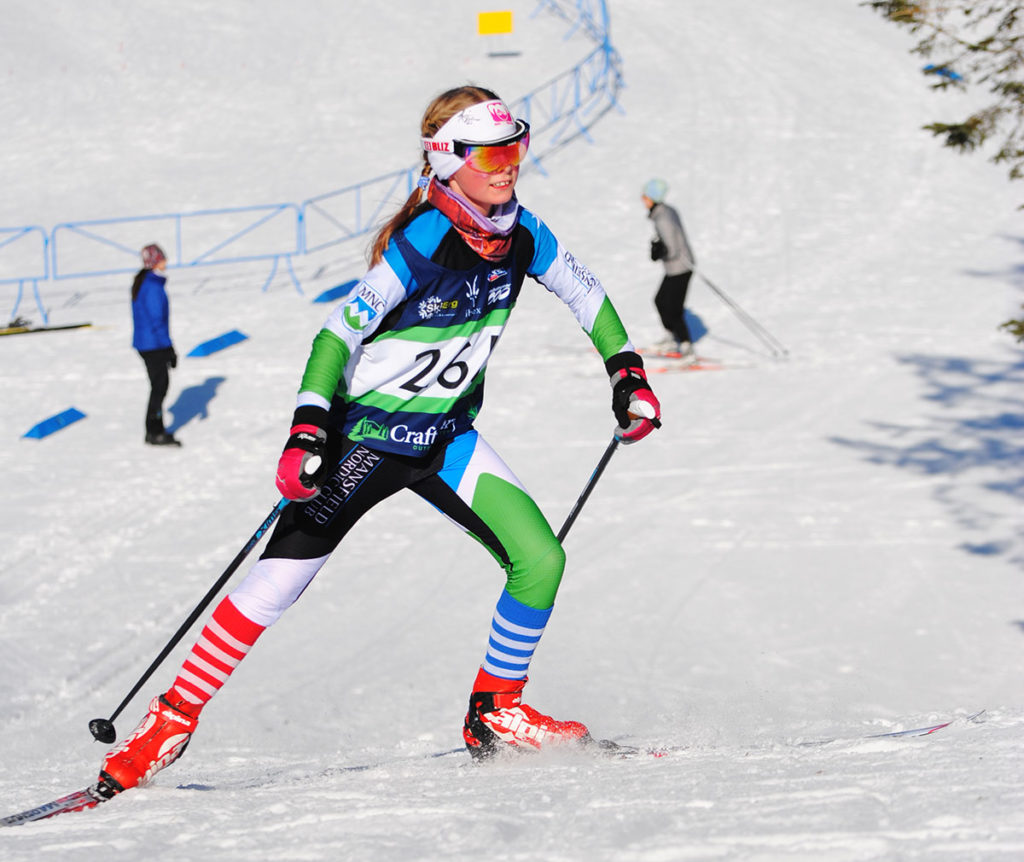
On skate skis, the V1 technique is your ticket to climb. Norwegians refer to this technique as “paddling,” which comes from the image of one arm lifted slightly higher than the other while engaging the tricep, shoulder and back muscles to power up a hill. With its asymmetrical body positioning, V1 can be less balance-dependent than other faster techniques and, because of this, it is often the first method of travel for newer skate skiers, who draw confidence from the three points of contact (two poles and one ski) involved in each stroke. Even though less balance may be required to get started, the key to unlocking your most efficient and fastest V1 lies in strong coordination and rhythmic timing.
For the most glide on a gradual hill, practice shifting your bodyweight from side to side as you drive power onto each ski. If an onlooker were to focus on your waist down during a gradual V1 climb, your movement would appear very similar to a V2 technique: an even push off each ski, both knees driving forward and the angle between shin and ski less than 90 degrees.
This requires very strong balance, as you need to fully commit your bodyweight to the non-poling ski. On gradual terrain, use the completion of your poling motion to jump-start the shift to the non-poling side. As your arms come up to plant your poles again, use that momentum to carry your hips up, which helps keep your weight in front of your heels.
The best way to practice this balance is to ski both flatter terrain and gradual hills without poles, while continuing to use your arms in the V1 motion. This will help separate the motions and isolate the balance required by only giving one point of contact for each side. For an extra challenge, practice a V1 on a gradual downhill, where balance is even less forgiving.
With poles back on, it’s time to look at the nuances of each hill, the lateral angle of which determines which arm plants the pole higher, often called the “lead-arm” or “hang-arm.” If a hill is skewed slightly higher on the right, you will reach out a bit farther and up a bit higher with your right arm. The opposite goes for a left-sloping hill. Most skiers have a preference of side and habitually ski with only one hang-arm, but it’s important to practice both—count a set number of pole plants on your weaker side now and then or commit an entire training session to one side to ingrain the movement pattern.
The steeper the hill, the more pronounced and dynamic each part of the technique becomes, including the speed and height with which the hang-arm is driven. The angle at the shin becomes narrower, the chest leans into the hill more deeply, and the momentum required from the hips and arms becomes more powerful. When ascending the steepest hills, experienced skiers will “hop-skate,” catching a bit of air thanks to the immense power required to switch from one ski to the other so quickly.
As always, it’s best to approach steeper climbs with a progression, the most imposing pitches requiring practice and confidence. Begin without poles and get a sense for just how dynamic you need to be. Place your hands on your hips and your skis in a wide “V” shape; slowly slide your weight forward, not from a bend in the waist or a puff in the chest but from sinking into your shins and sliding your hips forward. At a distinct point, your skis will start to move on their own. In that split second you’ve reached the ideal forward placement for your bodyweight. Remember that feeling.
Take a few laps of the hill without poles, capturing the body position previously identified. Work on developing a faster tempo and notice that you may need to keep your skis on edge with each gliding phase rather than having a perfectly flat contact surface.
When you add poles back in, remember how much you relied on your lower body. The tougher the climb, the less power you’ll be able to get from your upper body, so try to not rely on your poles as a crutch, as they can slow your tempo and push your weight backward.
As you crest the hill and reach flatter terrain, lengthen your V1 to match the forgiving terrain. Switch to a V2 only when you have gathered enough momentum to do so comfortably and with good glide. Then turn your focus to the next hill, which, with cross country skiing, is never far away.
—
Adam Terko is the head coach of Vermont’s Mansfield Nordic Club and has been skiing competitively (and writing about it) since before Fischer skis had holes in their tips. He’s also the technical editor of Cross Country Skier and writes the how-to column “Back Shop” in each issue.
Subscribe now to the print magazine to read Terko’s latest column and more at crosscountryskier.com/subscribe.